

Key Takeaways
- Most standard showerhead replacements require no special plumbing skills and can be done in under an hour.
- Teflon tape (plumber's tape) is essential for a leak-free seal at the shower arm threads.
- Avoid overtightening — hand-tighten first, then add only a quarter to half turn with a wrench.
- Corroded pipes, stripped threads, or water supply issues are signs to stop and call a licensed plumber.
- Shutting off the water supply is generally not required for a straight showerhead swap.
What you will need
What You'll Need Before You Start
Replacing a showerhead is one of the few plumbing tasks where the average homeowner can realistically succeed on the first try — no soldering, no pipe cutting, no permits required in most jurisdictions. That said, having the right materials on hand before you begin saves unnecessary trips and frustration.
What you will need
Adjustable wrench or channel-lock pliers
Provides the grip needed to loosen and remove the old showerhead from the shower arm.
Teflon (PTFE) tape
Wraps the shower arm threads to create a watertight seal when the new showerhead is installed.
Slip-joint pliers with cloth padding
Protects the finish on decorative showerheads while providing extra grip during installation.
Old cloth or rag
Wraps the existing showerhead during removal to prevent scratching the finish or your hands.
Penetrating lubricant (e.g., a general rust-release spray)
Helps loosen a showerhead that has been in place for many years and is corroded or seized.
Step-by-Step: How to Replace Your Showerhead
Follow these steps carefully, and your new showerhead should be operational — and leak-free — within the hour. Work slowly on the removal phase; that's where most mistakes happen.
Protect the shower arm and prepare your workspace
Lay a towel or drop cloth in the tub or shower basin to catch any drips and protect the surface from dropped tools. You do not need to shut off the home's main water supply for a standard showerhead swap — the shower arm itself has no valve. Simply avoid turning on the shower during the process.
Remove the old showerhead
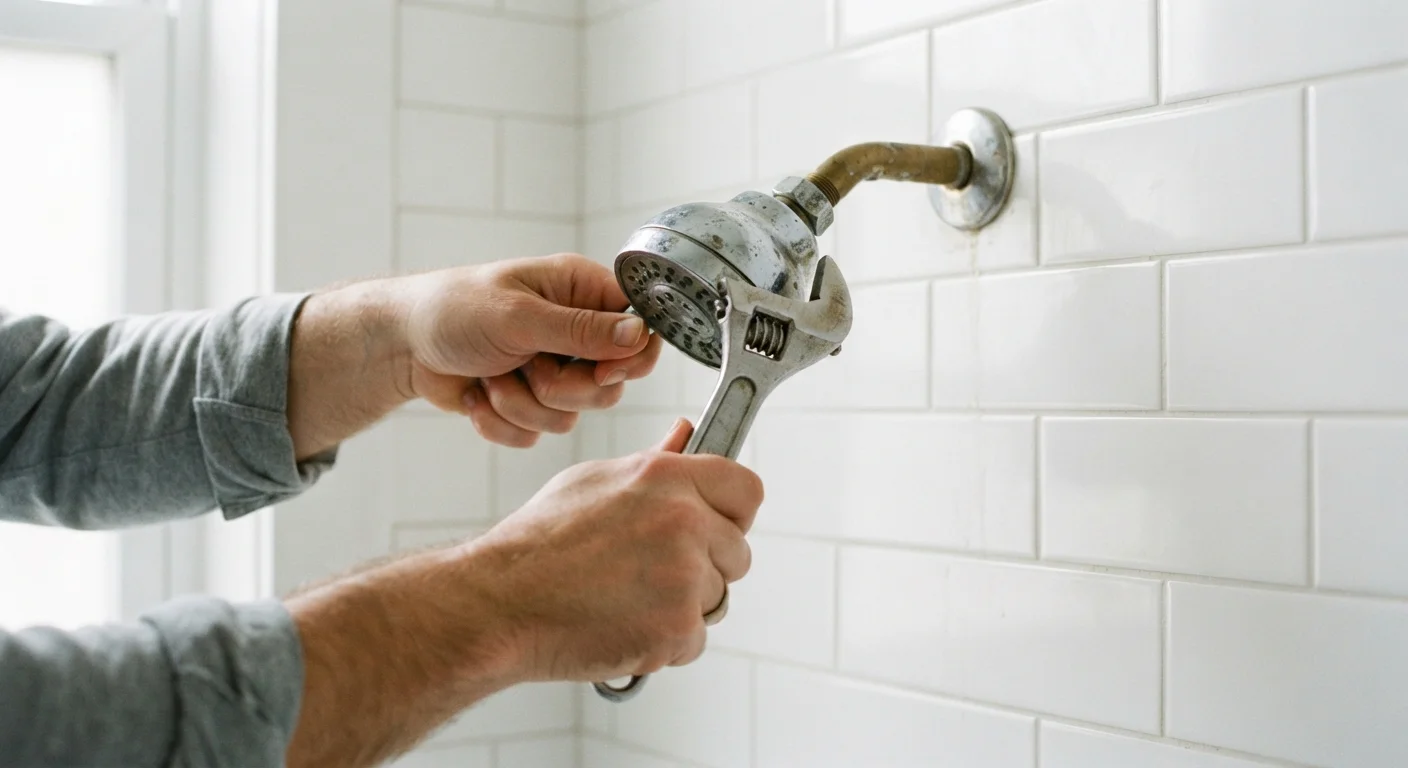
Wrap a cloth around the collar of the existing showerhead to protect the finish. Grip the collar firmly with your adjustable wrench and turn counterclockwise. If the head hasn't been changed in years, it may be stiff. Apply steady, even pressure rather than jerking the wrench. If it won't budge, apply a small amount of penetrating lubricant to the connection point, wait 10 minutes, then try again.
Clean and inspect the shower arm threads
Once the old head is off, use a rag or old toothbrush to clean any old Teflon tape, mineral deposits, or debris from the threads on the shower arm. Inspect the threads closely — they should look even and intact, with no missing sections or deep gouges. Also check that the shower arm itself is firmly anchored to the wall and shows no signs of rust or cracking.
Apply fresh Teflon tape to the threads
Starting at the base of the threads (closest to the wall), wrap Teflon tape clockwise around the shower arm threads. Overlap each pass slightly and apply 2–3 full wraps. Wrapping clockwise ensures the tape doesn't unwind when you thread the new showerhead on. Tear the tape cleanly and press the end down flat against the threads.
Install the new showerhead
Thread the new showerhead onto the shower arm by hand, turning clockwise. Hand-tighten until snug. Then use your wrench to add approximately a quarter to half turn more — just enough to seat the connection firmly. Most modern showerheads include a rubber washer inside the connection, which handles most of the sealing work. The Teflon tape provides backup protection at the threads.
Test for leaks and adjust the angle
Turn on the shower and let it run for 60 seconds. Inspect the connection point where the showerhead meets the arm — look and feel for any drips. A slight bead of moisture is often just surface condensation; a steady drip indicates the connection needs to be snugged slightly or the Teflon tape reapplied. Once confirmed leak-free, adjust the showerhead to your preferred spray angle.
Check Your Local Water Pressure First
Standard showerheads are designed to work within a typical residential water pressure range of roughly 45–80 psi. If your home has unusually high or low pressure, the showerhead's performance may not match expectations regardless of the model. A simple pressure gauge — attached to any hose bib — can give you a baseline reading to work from.
When to Stop and Call a Plumber
While showerhead replacement is beginner-friendly, certain situations signal that the job has moved beyond a straightforward swap. Stop work and contact a licensed plumber if you encounter any of the following:
- Corroded or cracked shower arm: If the pipe stub coming out of the wall looks rusty, pitted, or develops a crack when you apply torque, the arm itself likely needs replacement — a job that may involve opening the wall.
- Stripped threads: If the old head spins but won't unthread, or the new head won't seat properly, the threads may be stripped. Forcing the connection risks damaging the pipe inside the wall.
- Active leaking from behind the wall: Dripping or moisture around the escutcheon plate (the decorative cover at the wall) can indicate a deeper supply-line problem.
- Low water pressure that persists after installation: Consistently poor pressure may stem from supply line issues, a failing pressure-balancing valve, or municipal supply problems — none of which a new showerhead will fix.
Corroded Shower Arms: Don't Force It
If you notice significant rust, flaking metal, or the arm feels loose in the wall, do not attempt to unscrew the showerhead with force. The shower arm connects to a fitting embedded in the wall, and a snapped or cracked arm can mean a wall repair job on top of the plumbing fix. A licensed plumber can replace the arm safely and assess the surrounding pipe condition.
Not sure whether your bathroom situation calls for a plumber, a contractor, or a full remodel? Our guide to choosing between DIY and hiring a contractor can help you weigh the decision. And if this project has you thinking bigger, see our overview of bathroom remodels vs. additions for broader scope planning.