

Key Takeaways
- Checking five key fluids takes under 20 minutes and requires no special tools.
- Low brake fluid can signal a leak or worn pads - never ignore it.
- Engine oil should be checked when the engine is cool and the car is on level ground.
- Coolant levels matter year-round, not just in winter - overheating is a leading cause of engine damage.
- Most vehicles have clearly labeled reservoirs; your owner's manual is the definitive guide for your car.
What you will need
Why Fluid Checks Matter More Than Most Drivers Realize
Your vehicle relies on a network of fluids to lubricate moving parts, transfer heat, transmit force, and maintain visibility - all simultaneously. When any one of these drops below safe levels, the downstream consequences range from accelerated wear to outright mechanical failure. The encouraging reality is that checking all five primary fluids takes under 20 minutes and costs nothing beyond a little time.
Drivers who skip these checks often discover the problem at the worst possible moment - on the highway, in extreme heat, or far from a service station. Routine fluid maintenance is one of the highest-return habits in car ownership, as outlined in our broader look at maintenance tasks that prevent expensive repairs.
What you will need
Lint-free rag or paper towels
Wipe the oil dipstick clean before taking an accurate reading.
Flashlight or phone torch
Illuminate fluid reservoirs and dipstick markings in a dim engine bay.
Funnel
Allows precise topping up of fluids without spills.
Owner's manual
Identifies the correct fluid specification and reservoir locations for your specific vehicle.
Step-by-Step: How to Check Each Fluid
Follow the steps below in order. Having your owner's manual nearby is strongly recommended, as reservoir locations and fluid specifications vary across makes and models. The steps assume a standard passenger car or light truck with a conventional internal combustion engine.
Prepare the vehicle
Park on a flat, level surface and turn off the engine. Wait at least 30 minutes after driving before checking most fluids - a hot engine makes oil readings inaccurate and coolant reservoirs pressurized. Pop the hood and locate the hood prop or latch mechanism to secure it safely open.
Check the engine oil
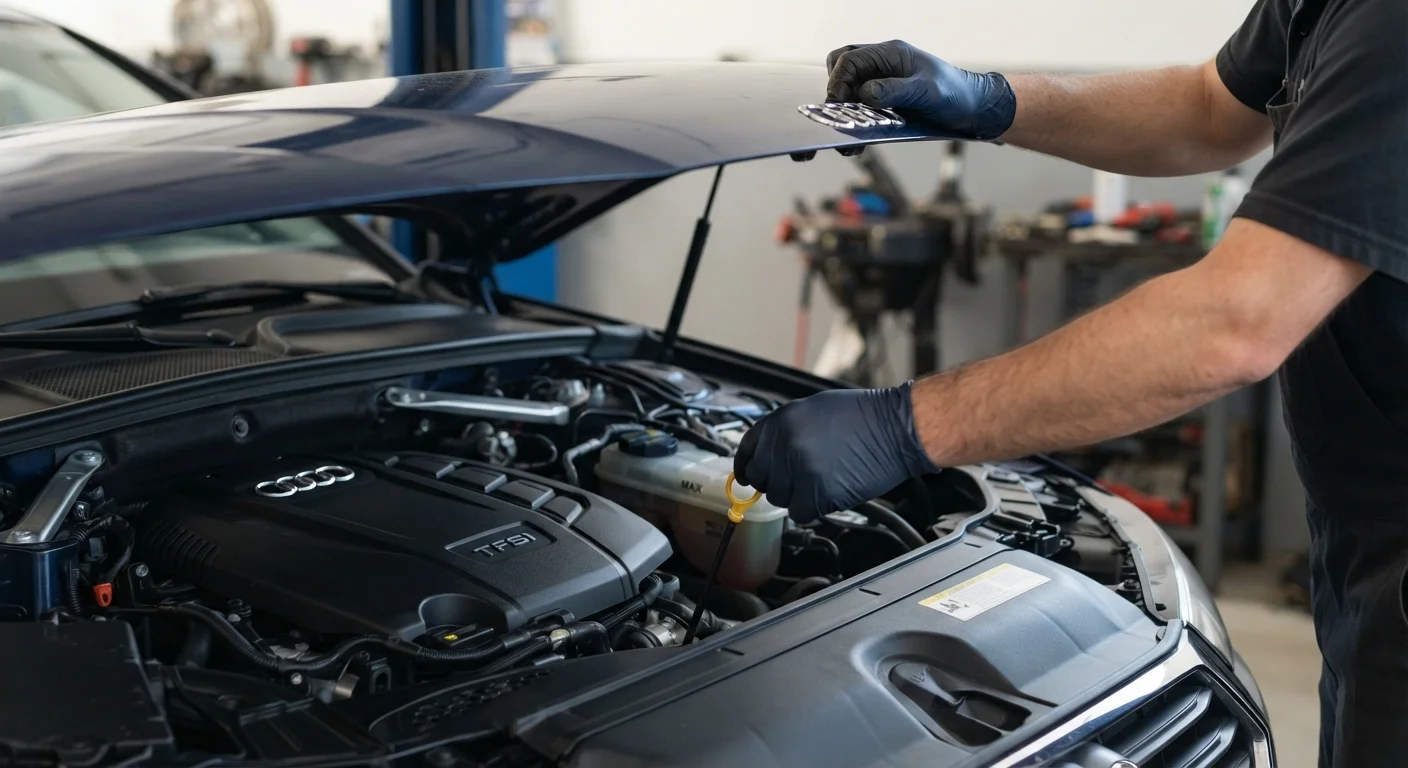
Locate the oil dipstick - it typically has a brightly colored ring handle. Pull it out, wipe it clean with a rag, reinsert it fully, then pull it out again. The oil film should sit between the two notched marks (MIN and MAX). Healthy oil ranges from amber to light brown. Oil that looks jet-black and gritty is overdue for a change. For guidance on change intervals, see when your car actually needs fresh oil.
Inspect the coolant (antifreeze)
The coolant reservoir is a translucent plastic tank near the radiator with MIN and MAX lines visible on the outside - no need to open it when the engine is warm. The fluid should appear bright green, orange, or pink depending on the type your vehicle uses. If it looks rusty, brown, or has an oily film, have a mechanic inspect the cooling system. Coolant prevents both overheating and freeze damage, making it a year-round concern.
Check the brake fluid
The brake fluid reservoir is a small, semi-translucent plastic container on top of the brake master cylinder, usually located near the firewall on the driver's side. Look at the level through the side without removing the cap - it should fall between MIN and MAX. Brake fluid darkens naturally over time, but a significantly low level warrants prompt attention: it can indicate a leak or heavily worn brake pads. For context on how brake system components connect, see brake maintenance essentials.
Check power steering fluid (if applicable)
Many newer vehicles use electric power steering and have no fluid reservoir. If your car has hydraulic power steering, locate the reservoir - often labeled with a steering wheel icon - and check the level against the dipstick or side markings. The fluid should be clear to light pink or amber. A low level or dark, burnt-smelling fluid is worth noting to your mechanic.
Check the windshield washer fluid
This is the one fluid you can top up at any time - the engine doesn't need to be cold. The reservoir is usually a large, blue-capped container. Use washer fluid rated for your climate; plain water can freeze in cold weather and doesn't remove road grime as effectively. While it won't affect engine performance, an empty reservoir is a safety issue when visibility is compromised.
Low Brake Fluid Is Never Routine
Unlike other fluids, brake fluid doesn't evaporate - a noticeably low level almost always signals a problem, such as a leak in the brake lines or worn brake pads pushing fluid out of the caliper pistons. If your brake fluid is below the MIN line, do not top it up and drive on; have the system inspected by a qualified mechanic before your next trip.
Always Use the Correct Fluid Specification
Using the wrong type of fluid - the wrong oil viscosity, coolant chemistry, or brake fluid grade - can cause system damage that voids warranties and leads to expensive repairs. Always cross-reference your owner's manual before adding anything to a reservoir. When in doubt, ask a professional.
Make Fluid Checks a Monthly Habit
Setting a calendar reminder to run through these checks once a month - and before any long road trip - takes less time than stopping for coffee. Catching a low level early is far cheaper than repairing the damage that follows. For a full pre-drive routine, see this pre-trip vehicle safety checklist.
Reading the Signs: What to Do After Your Check
If all fluids are at the correct level and appear clean, you're in good shape - log the date and mileage so you have a reference point next time. If you found any of the following, here's what to do next:
- Engine oil low or dirty: Top up with the correct grade, or schedule an oil change. See how modern oil change intervals actually work for context on timing.
- Coolant low or discolored: Top up carefully when cool; if discolored, have the system flushed by a mechanic.
- Brake fluid low: Do not ignore this. Have the brake system inspected before driving further.
- Power steering fluid dark or low: Note this for your next service appointment.
Fluid checks pair naturally with a broader awareness of what routine items drivers commonly overlook. See which skipped tasks carry the biggest risk to round out your maintenance knowledge.