

Key Takeaways
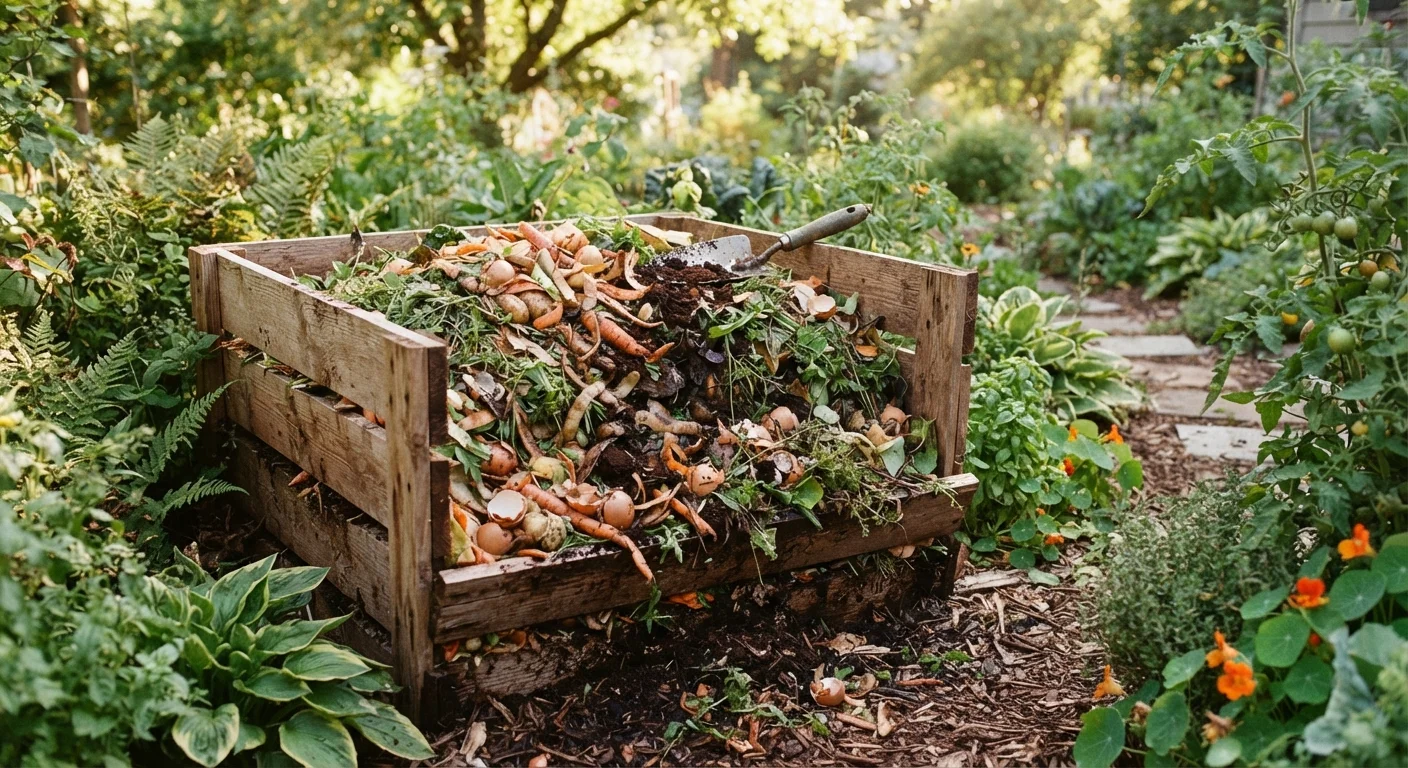
- Composting requires a balance of carbon-rich "browns" and nitrogen-rich "greens" to break down effectively.
- Most kitchen scraps — except meat, dairy, and oily foods — can go directly into a home compost pile.
- Moisture and airflow are the two most common factors that determine whether a pile succeeds or stalls.
- Finished compost typically takes two to six months depending on materials, pile size, and how often you turn it.
- Compost improves soil structure, drainage, and nutrient availability without synthetic fertilizers.
What you will need
Why Composting Is Worth the Effort
Composting is one of the most practical habits a homeowner can build. It cuts down on household waste, eliminates the need to buy bagged soil amendments, and steadily improves the health of your garden beds over time. Understanding what makes garden soil productive helps you appreciate why finished compost is so valuable — it feeds soil biology, improves structure, and helps retain moisture in a way that synthetic fertilizers simply cannot replicate.
The basic science is straightforward: microorganisms break down organic matter into a stable, humus-rich material. Your job is to create conditions where those microorganisms can thrive — the right mix of materials, adequate moisture, and occasional aeration.
What you will need
What to Compost (and What to Keep Out)
A successful pile depends on balancing two categories of material:
- Browns (carbon-rich): dry leaves, cardboard torn into small pieces, paper bags, straw, wood chips, and paper egg cartons.
- Greens (nitrogen-rich): vegetable and fruit scraps, coffee grounds and filters, tea bags (remove staples), fresh grass clippings, and plant trimmings.
A rough guideline is to aim for roughly two to three parts browns for every one part greens by volume. Too many greens and the pile turns slimy and smells; too many browns and decomposition slows dramatically.
Avoid These Common Problem Materials
Meat, dairy, cooked oily foods, and pet waste should never go into a standard home compost pile. These materials can attract rodents, introduce harmful bacteria, and create persistent foul odors that are difficult to correct. Stick to raw plant-based kitchen scraps and untreated yard waste for a low-maintenance, functional pile.
Keep these out entirely: meat, fish, bones, dairy products, oily or heavily cooked foods, diseased plants, pet waste, and anything treated with pesticides. These materials either attract pests, introduce pathogens, or fail to break down safely in a typical home pile.
Autumn garden cleanup generates a huge supply of carbon-rich leaves and stems — the fall garden cleanup guide explains how to decide what goes in the bin versus what to leave in place for wildlife and soil protection.
Setting Up and Maintaining Your Compost System
You don't need an elaborate setup to get started. Even a simple pile in a back corner of the yard works, though an enclosed bin or a three-bin system speeds the process and keeps things tidier.
Compost bin or open pile area
Contains materials, retains heat, and keeps the composting area tidy.
Kitchen scrap container with lid
Collects vegetable peels, coffee grounds, and other food scraps between trips to the outdoor pile.
Garden fork or compost aerator
Turns and aerates the pile to maintain oxygen flow and speed decomposition.
Garden hose or watering can
Adds moisture when the pile dries out, particularly during hot or dry weather.
Compost thermometer
Measures internal pile temperature to confirm active decomposition is occurring.
Hardware cloth or wire mesh
Lines the base or sides of an open bin to deter burrowing rodents from entering.
Choose a spot with partial shade — full sun dries the pile out too quickly, while deep shade can slow microbial activity. Good drainage underneath is essential; direct ground contact is preferable to a solid base so organisms and worms can move freely.
Choose and prepare your composting location
Select a level, well-drained spot with partial shade. If using a bin, assemble it on bare soil rather than concrete or pavers so earthworms and beneficial organisms can enter from below. Aim for a pile or bin that is at least 3 feet wide and 3 feet tall — this minimum volume is needed to generate enough internal heat to drive decomposition.
Lay a foundation of coarse browns
Start with a 4–6 inch layer of coarse carbon material — wood chips, straw, or torn cardboard work well. This base layer promotes airflow underneath the pile and prevents the bottom from compacting into an anaerobic mat. Lightly moisten it if the material is completely dry.
Add alternating layers of greens and browns
Add kitchen scraps and other green material in a layer roughly 2–3 inches thick, then cover immediately with a layer of browns at least twice as deep. Burying greens under browns also reduces odors and deters flies. Continue layering as new material becomes available rather than waiting to add large batches all at once.
Monitor and adjust moisture levels
The pile should feel roughly as damp as a wrung-out sponge — moist throughout but not dripping. Squeeze a handful: if no water comes out but the material holds together, moisture is about right. In dry weather, water the pile lightly with a hose. In very wet conditions, cover the pile or add extra browns to absorb excess moisture.
Turn the pile regularly
Use a garden fork to turn the pile every one to two weeks, moving material from the outer edges toward the center where temperatures are highest. Turning reintroduces oxygen, which feeds aerobic bacteria and accelerates breakdown. A pile that is never turned will still compost — it just takes significantly longer, often a year or more.
Recognize when compost is ready to use
Finished compost looks dark brown, crumbles easily, smells earthy (not sharp or sulfurous), and no longer resembles the original materials. This stage typically takes two to six months depending on pile size, mix of materials, and how frequently you turn it. If some pieces are still recognizable, sift the pile and return unfinished chunks to a new batch.
Once the pile is active, finished compost can be worked into planting beds before a new season or used as a top dressing around established plants. It pairs especially well with garden mulch — apply compost first, then mulch over the top to retain both moisture and nutrients. If you're putting that compost to work in food production, the vegetable garden guide covers how to prep beds and time your planting for the best results.
Keep a Bag of Browns Nearby
Store a bag of dried leaves or torn cardboard next to your compost bin so you always have browns on hand to cover each new batch of kitchen scraps. This one habit prevents odors, deters pests, and keeps your carbon-to-nitrogen ratio balanced without any measuring.