

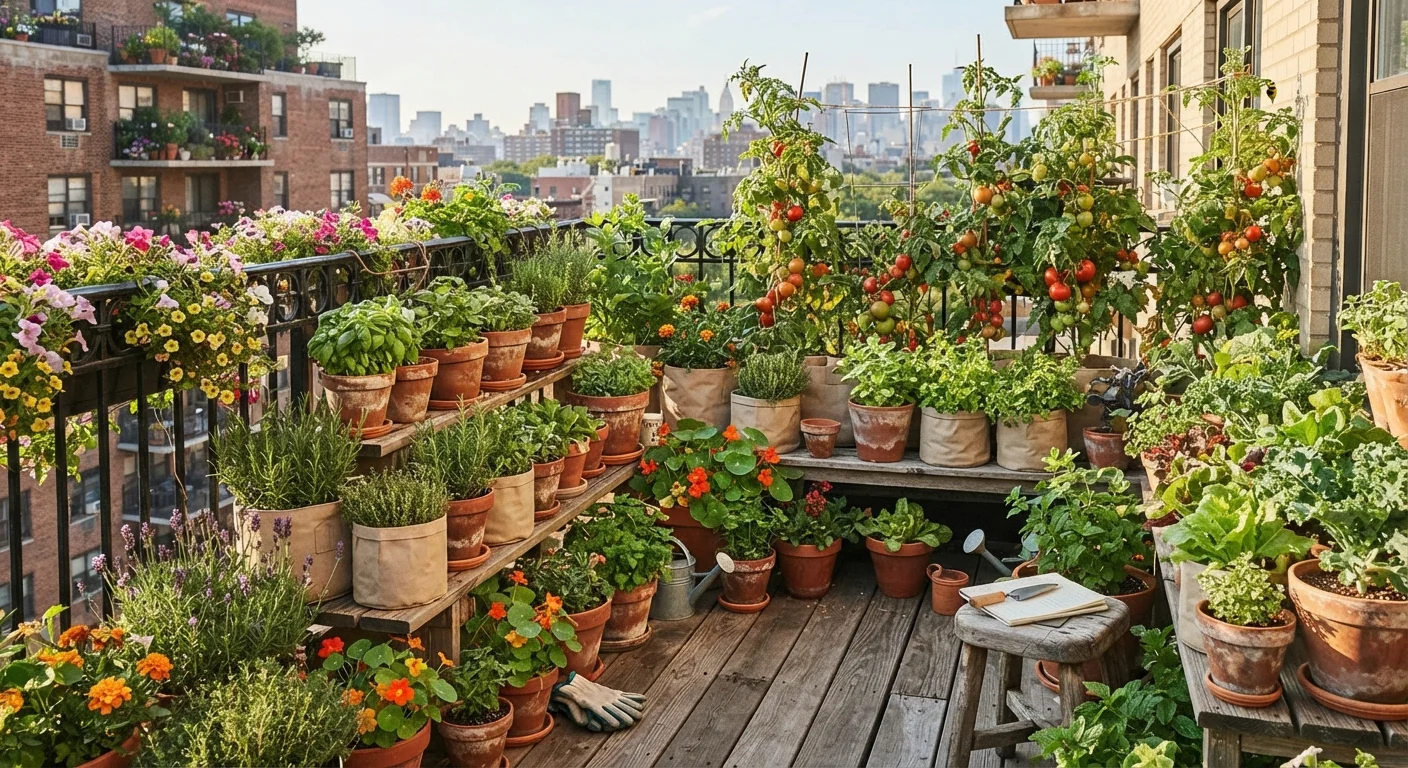
Key Takeaways
- Container gardening works on almost any hard surface — no in-ground soil required.
- Choosing the right container size and a quality potting mix are the two biggest factors for success.
- Most vegetables and herbs thrive in containers when watered and fed consistently.
- Drainage is non-negotiable — containers without drainage holes will kill plants quickly.
- Grouping containers strategically saves water, creates microclimates, and looks intentional.
What you will need
Why Container Gardening Works for Space-Challenged Gardeners
Whether you have a narrow apartment balcony, a concrete driveway, or a paved backyard patio, containers let you garden where traditional planting simply isn't possible. Unlike raised beds or in-ground plots — explored in our raised beds vs. in-ground planting comparison — containers require no digging, no soil amendment, and almost no permanent commitment.
You control the soil quality from the start, move plants to follow the sun, and scale up or down season by season. Container gardening is particularly forgiving for beginners: problems are contained (literally), and correcting course is as simple as repotting or repositioning.
That flexibility also extends to outdoor design. Thoughtfully placed containers can double as privacy screens, define seating zones, or soften hard edges — ideas you can explore further in our guide on designing an outdoor space you'll actually use all season.
What you will need
What You'll Need Before You Start
Getting the fundamentals right before you plant saves you from the most common container gardening failures — waterlogged roots, nutrient-starved plants, and containers that crack over winter.
Containers (pots, fabric grow bags, window boxes)
Holds soil and plants — size should match the root depth of your chosen plants.
High-quality potting mix
Provides the aerated, well-draining growing medium containers need; standard garden soil compacts and drains poorly in pots.
Saucers or drip trays
Catch runoff water on balconies or paved surfaces to protect the surface and retain some moisture.
Slow-release granular fertilizer
Feeds plants steadily over the season since nutrients flush out of containers with each watering.
Watering can or hose with adjustable nozzle
Delivers water gently and accurately to avoid displacing soil or damaging seedlings.
Pot feet or risers
Elevate containers slightly to improve drainage and prevent staining on patios and decks.
Start Small and Scale Up
If you're new to container gardening, start with two or three pots of easy-growers like cherry tomatoes, basil, or lettuce before investing in a large setup. Getting the fundamentals of watering and feeding right at small scale builds confidence without wasted expense. You can always add more containers next season.
Step-by-Step: Setting Up Your Container Garden
Follow these steps in order. Rushing past early stages — especially drainage and soil selection — is the most common reason container gardens underperform.
Choose the right container for each plant
Container size is the single most important decision you'll make. A too-small pot restricts roots, causes heat stress, and requires constant watering. As a general guide:
- Herbs and lettuce: 6–8 inch diameter pots or a window box at least 6 inches deep
- Peppers, bush beans, and compact tomato varieties: 5-gallon containers (roughly 12 inches diameter)
- Full-size tomatoes, cucumbers, and squash: 10–15 gallon containers minimum
- Flowering annuals (petunias, marigolds): 8–12 inch pots work well for most
Always check that containers have drainage holes. If you find a pot you love without them, drill at least three quarter-inch holes in the base before planting.
Fill containers with quality potting mix
Never use soil dug from your yard — it compacts in pots, drains poorly, and may carry pests or disease. Choose a potting mix labeled for containers, which typically includes perlite or vermiculite for drainage. For large containers (10 gallons or more), you can fill the bottom quarter with lightweight filler material — such as plastic bottles sealed inside a mesh bag — to reduce weight without compromising plant health.
Fill to about an inch below the container rim to leave room for watering without overflow. Mix in a slow-release fertilizer according to package instructions at this stage.
Select plants suited to your light conditions
Sun exposure determines what you can grow, so be honest about your space before buying plants:
- Full sun (6+ hours): Tomatoes, peppers, basil, most flowering annuals
- Partial sun (3–6 hours): Lettuce, spinach, parsley, mint, pansies
- Shade (fewer than 3 hours): Ferns, impatiens, some begonias
If your space gets inconsistent sun, containers give you the advantage of mobility — wheels or casters under heavy pots let you track sun throughout the day.
Position containers strategically
Group containers together rather than spreading them out individually. Clustered pots create a shared humid microclimate that reduces water loss and can moderate temperature swings. Taller containers placed at the back, shorter ones in front, makes the most of available light and creates a layered, designed look.
On weight-bearing surfaces like balconies, distribute heavy containers along load-bearing walls or edges rather than centering them. If you're unsure about weight limits, consult your building's management or a structural professional — this is not something to guess at.
Plant, water in, and label your containers
Plant at the same depth the plant was growing in its nursery pot — burying stems too deep can cause rot in most vegetables, though tomatoes are a notable exception (burying the stem deeper encourages extra roots). Firm soil gently around the root ball to eliminate large air pockets.
Water thoroughly immediately after planting until water drains freely from the bottom. This settles the soil and ensures good root-to-medium contact. Label each container with the plant name and planting date — it takes seconds and saves confusion later in the season.
Balcony Weight Limits Are a Real Safety Concern
Large containers filled with wet soil are heavy — a 15-gallon pot can weigh over 80 pounds when watered. Before loading a balcony or rooftop deck with multiple large containers, verify the load-bearing capacity with your building manager or a structural engineer. Exceeding weight limits poses a genuine safety risk and may violate building codes.
Keeping Your Container Garden Productive All Season
Once your containers are planted, consistent maintenance makes the difference between a struggling garden and an abundant one.
Watering: Containers dry out faster than in-ground beds, especially in summer heat or on exposed balconies. Check moisture by pressing a finger an inch into the soil — water when it feels dry at that depth. Most containers need watering every one to two days in warm weather.
Feeding: Potting mix nutrients deplete quickly with regular watering. Use a balanced, slow-release granular fertilizer at planting time, then supplement every two to three weeks with a liquid feed during the growing season.
Enriching your soil over time: Finished compost mixed into your potting medium at the start of each season improves moisture retention and feeds plants naturally. Our home composting guide walks through how to produce that compost from kitchen scraps.
Deadheading and harvesting: Remove spent flowers from ornamentals to encourage more blooms. Harvest vegetables and herbs regularly — frequent picking signals the plant to keep producing rather than set seed and slow down.
End-of-season care: Empty and clean containers before winter to prevent soil-borne disease. Terracotta pots should be stored indoors or in a dry shed in cold climates to prevent cracking. Plastic and resin containers can typically stay outside.