

Key Takeaways
- Layering with lightweight, versatile pieces is the core strategy for multi-climate packing.
- Fabric choice matters: merino wool, nylon, and moisture-wicking blends adapt across conditions.
- A neutral color palette lets fewer pieces create more outfit combinations.
- One packable outer shell handles most rain and wind scenarios without taking up much space.
- Planning outfits around a shared base palette cuts packing decisions and weight significantly.
What you will need
Why One Bag for Multiple Climates Is Actually Achievable
Multi-climate travel used to feel like it required two suitcases — one for warm weather, one for cold. But layering techniques and advances in packable fabrics have changed that equation entirely. The key insight is that versatility comes from how you combine pieces, not from how many pieces you bring.
Whether you're doing a coastal-to-mountain road trip, an international trip spanning tropical and temperate zones, or a city break where temperatures swing 30 degrees between noon and midnight, the same core strategy applies. For a broader look at how different trip types shape packing decisions, packing strategies that hold up across different trip types is worth a read before you start.
The Neutral Palette Is Your Secret Weapon
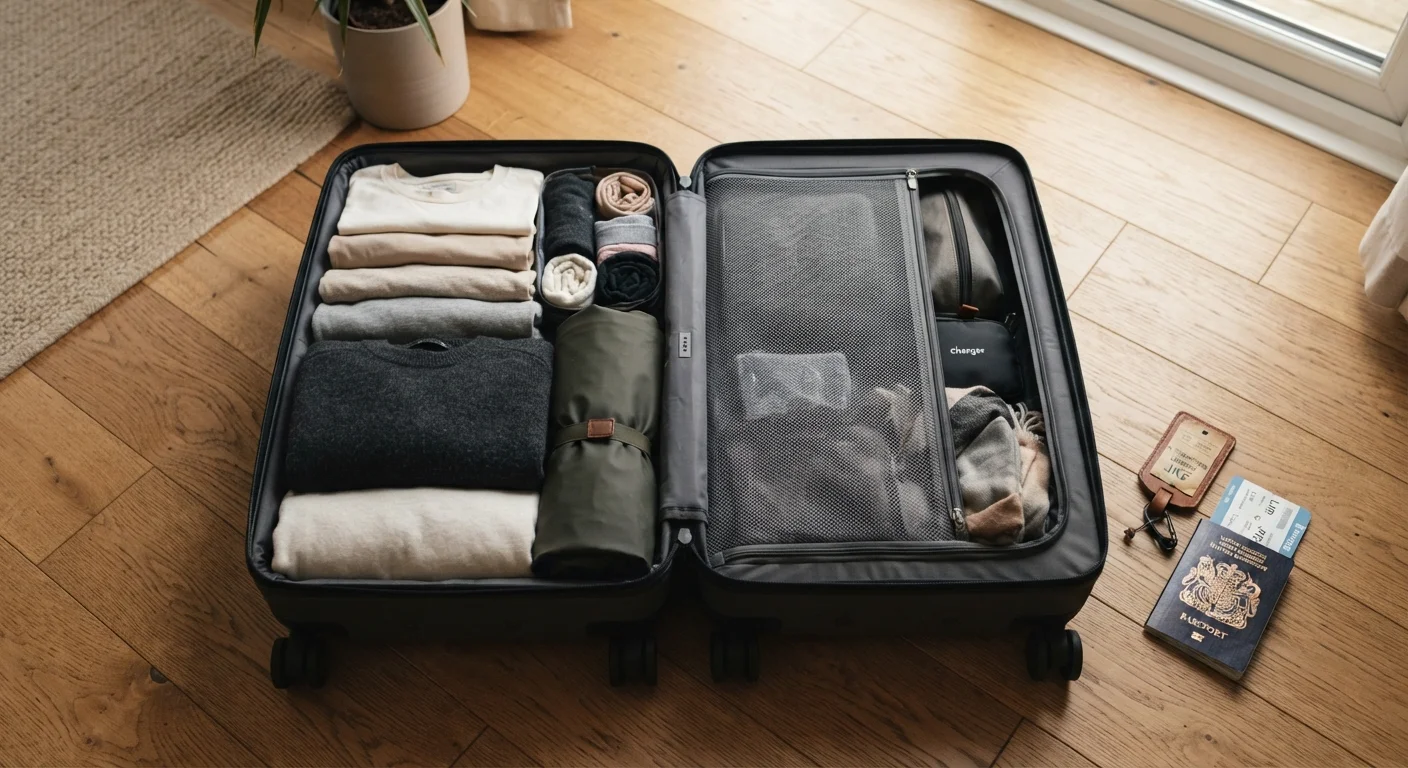
Sticking to two or three core colors — think navy, white, and olive — means every piece pairs with every other piece. You get far more outfit combinations from fewer items, which is exactly what multi-climate packing demands. Leave the statement pieces at home unless one item pulls double duty.
This guide walks you through exactly how to pull it off — from climate mapping to your final edit — with a step-by-step framework you can apply to any trip.
What you will need
The Steps: Build Your Multi-Climate Bag
Check Luggage Limits Before You Pack
Airline carry-on size and weight restrictions vary by carrier and route — especially on international or budget flights. Always verify current limits with your specific airline before finalizing your bag. Overpacking for a multi-climate trip only to gate-check your bag defeats the whole effort.
Map Your Climates Before You Touch Your Closet
Pull up the forecast ranges for every destination on your itinerary and note the spread: What's the coldest night? The hottest afternoon? Will there be significant rain? Write these down. You're not packing for every possible condition — you're packing for the realistic middle, with a layering strategy that covers the edges.
Build a Neutral-Color Capsule Wardrobe
Choose a two- or three-color palette and stick to it. Every top should pair with every bottom. Aim for no more than two pairs of pants or skirts, three to four tops, and one versatile dress or convertible piece if it fits your itinerary. This foundation is the same whether you're heading to humid coastal cities or cool mountain towns.
Choose Fabrics That Work Across Temperatures
Fabric is where multi-climate packing either succeeds or falls apart. Prioritize:
- Merino wool — insulates when cool, breathes when warm, and resists odor through multiple wears
- Moisture-wicking synthetics — dry quickly after rain or sweaty sightseeing days
- Lightweight nylon or ripstop — durable, packable, and often water-resistant for pants and shells
Avoid heavy cotton, thick denim, and anything that takes overnight or longer to dry — these are dead weight in a multi-climate bag.
Layer Strategically — Three Layers Cover Almost Everything
The classic three-layer system works for travel as well as it does for hiking:
- Base layer — a lightweight, moisture-wicking tee or long-sleeve that sits next to skin
- Mid layer — a packable down vest, lightweight fleece, or merino cardigan for insulation
- Outer layer — a packable rain shell or wind jacket
Each layer works independently in mild weather and combines in cold or wet conditions. Two interchangeable mid layers can handle a 40-degree temperature swing without requiring a heavyweight coat.
Pack One Outer Shell That Does Real Work
Your outer layer is the single most important piece in a multi-climate bag. Look for a jacket that is genuinely water-resistant or waterproof, packs into its own pocket or a small stuff sack, and has at least two external pockets for usability. It should be light enough to wear on the plane and function over everything else you pack. For more on what "packable" really means in practice, see what packable actually means.
Use Packing Cubes to Organize by Layer, Not by Day
Instead of packing an outfit per day, organize by garment type: one cube for base layers, one for mid layers, one for bottoms. This makes it easy to pull the right layer without disrupting everything else. Roll items rather than folding where possible — it reduces wrinkles and saves space. Compression cubes work especially well for mid layers like fleeces.
Do a Final Edit — Cut One More Item
Once you think you're done, remove one item. It sounds counterintuitive, but nearly every experienced traveler agrees: you'll almost always find that the piece you removed wasn't needed. Run through your planned activities and confirm each remaining item is used on at least two different days in a different combination. Anything that only works one way or on one day is a candidate to leave behind.
Once you've worked through the steps above, you'll have a bag that's genuinely ready for whatever conditions your trip throws at you. For a deeper dive into packing philosophy — including the capsule wardrobe method and rolling vs. folding — packing strategies worth knowing before your next trip builds on the same principles. And if this is your first time trying to pack light for a longer journey, packing light for a two-week trip offers a grounded starting point.